
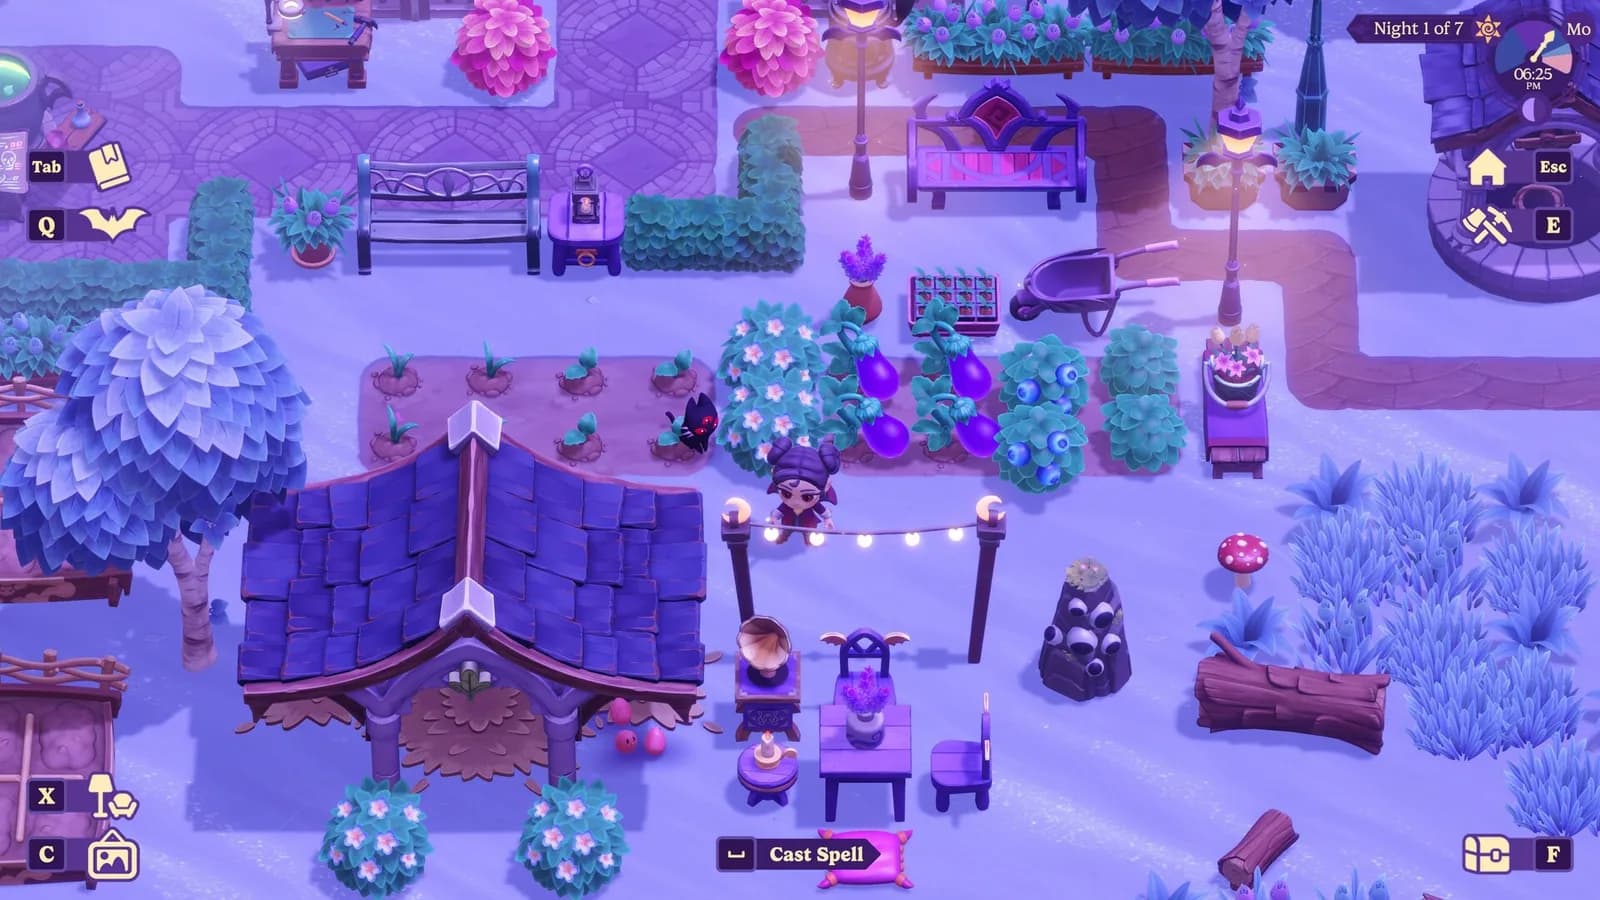
The five clue locations in order
The ordered answer above follows the quest sequence while replacing the clue poems with plain destination notes. This section explains how to use that list after the direct route is already visible. Read only as far as the clue you are solving if you want to keep the remaining route hidden.
Each ordered step gives the destination first and then the smallest landmark check needed to narrow the search. The wording is intentionally practical: there is no invented relationship threshold, mailbox schedule, prerequisite quest, or countdown attached to this route.
How to use the route without losing your place
Treat the hunt as a sequence rather than a collection of five independent marks. Begin with the objective currently visible in your quest log, compare it with the next destination above, and finish that step before travelling to a later landmark. Visiting a correct place out of order can make an accurate location feel wrong because it is not the destination requested by the active clue.
At each stop, slow down once the broad destination name is on screen. The useful part of every note is the relationship between a recognizable feature and a smaller search area: interior storage, a distinctive headstone, a work space, a bell, or the waterfall-side path. A wide sweep of the whole district is less reliable than checking the one local feature named in the route.
If you pause the quest between sessions, record the last destination you completed rather than trying to remember a line of the poem. On returning, check the live objective again. This keeps a partially completed hunt aligned with the game instead of assuming that the first unchecked note in a personal list must be current.
Landmark checks for every stop
For the opening stop, use the complete location note: The Broken Lamp; inside near the right-side bottle and wine storage. Once inside the named building, let the storage description narrow the room for you. Do not turn the check into a search of every wall or piece of furniture; the right-hand bottle and wine area is the meaningful landmark.
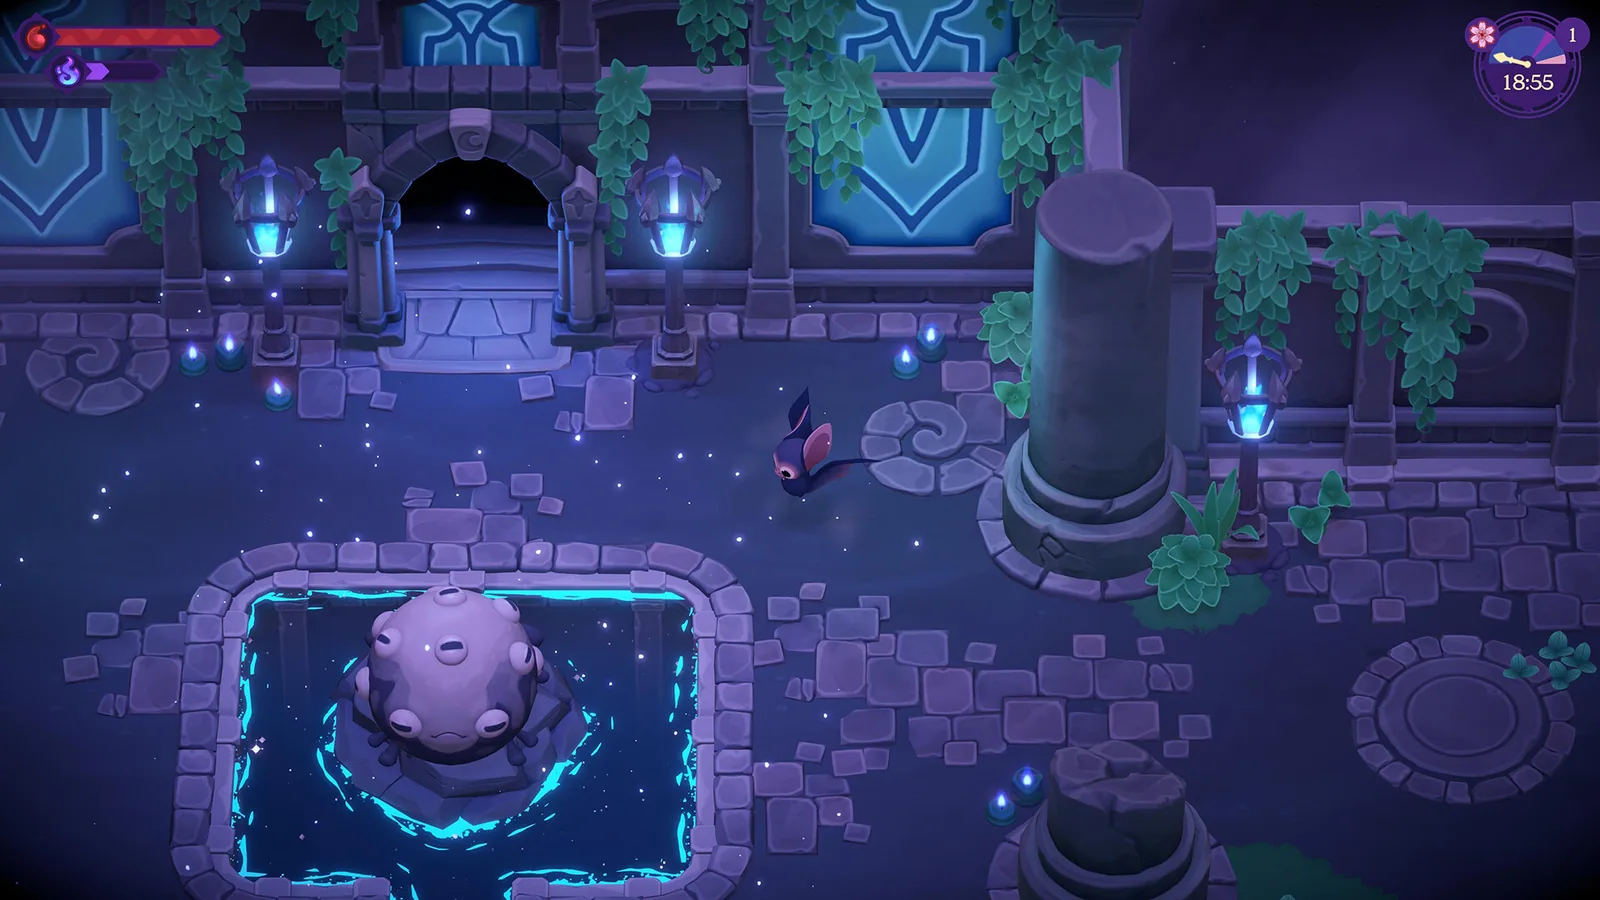
The second destination is Ambrosia Graveyard; behind the bat-shaped headstone in the upper-left area. The graveyard contains several visually similar features, so the two useful filters are the upper-left portion of the area and the bat-shaped stone. Approach the landmark from more than one angle if scenery blocks the ground immediately behind it.
The third clue leads to Webb of Wonders; beside the pottery work area on the right. Here the destination name gets you indoors, while the pottery work area distinguishes the relevant side. Keep the current clue in mind and inspect that compact work zone before checking unrelated displays elsewhere in the building.
The fourth stop is Cave of Echoes; eastern side beside the large bell. The cave is a larger environment than the earlier interiors. Use the eastern side to choose your direction, then use the large bell to define the final local area. Those two filters are more useful than wandering the entire cave in a broad loop.
The last location is Outside Khazan Temple; east of Town Hall, on the path beside the waterfall. This note combines a town reference, a direction, an exterior destination, and the waterfall-side path. It does not send you into the temple. Stay outside and use the path beside the water feature as the final search strip.
A spoiler-light way to reveal the answer
Players often reach a guide because one clue has become frustrating, not because they want the whole activity solved for them. A simple approach helps: uncover the destination name first, return to the game, and read the landmark phrase only if the broad area still leaves too much ground. The ordered list supports both levels without reproducing the poems.
The route also separates navigation help from story interpretation. It tells you where the active step points, but it does not explain Elvira's dialogue, infer a hidden relationship state, or predict how the quest arrived in your log. Those details are outside this location guide and can vary with the context of an individual save.
If the game presents dialogue or a quest update during the route, let that information take priority over this page. The guide is a location aid, not a replacement for the current objective. Recheck the next clue after any update instead of carrying a remembered destination forward automatically.
When a correct landmark does not solve the step
No first clue yet? Check for Elvira's available map event and complete the setup conversation, then look for her promised first letter once the hunt is ready. A recorded playthrough shows this sequence, but does not establish a fixed heart requirement or delivery day.
First confirm that you are following the current objective and not a later line from the full list. Then compare the complete destination note, including whether it says inside or outside and which side of the area matters. Small orientation words do most of the work in this hunt; dropping one can move the search to the wrong room, edge, or path.
Next, make a deliberate close pass around the named landmark. Large scenery can hide the immediate area when viewed from a single direction. Change your approach, keep the landmark on screen, and check the space described by the note. Avoid expanding outward until that compact area has been covered carefully.
If the objective still does not advance, leave speculation out of the diagnosis. This guide has no confirmed time limit, relationship requirement, named prerequisite, or universal delivery schedule for the hunt. Check the quest text in your save, confirm that the game is current for your platform, and preserve the exact objective wording if you need to report a possible issue.
What the treasure hunt rewards
The confirmed reward description is simple: A decorative painting for the house. Treat it as a home decoration. Nothing in the current references gives it a recipe, route unlock, performance upgrade, or other mechanical benefit. Plan the hunt because you want to complete Elvira's activity or add another decorative option.
The painting's exact image or color is deliberately not described here because no single appearance is confirmed across saves. After opening the chest, use the item shown by your own game as the authoritative version of the reward.
That distinction is useful beyond this quest. A reward category can be clear even when a cosmetic variant is not. Giving the stable answer solves the practical question without turning one observed appearance into a rule. If official information later establishes a fixed design, the page can be updated with a dated note.
What this guide covers—and what it leaves open
This page covers the five-place sequence and the broad quest objective. Use the route only for the active clue shown in your current save.
The guide covers the ordered destinations, their local landmarks, and the decorative reward category. It does not confirm a trigger threshold, deadline, prerequisite, or fixed painting appearance. If those details matter, follow the current quest text instead of assuming that the route is missing a step.
For another objective involving Elvira, use the character page for identity and context, then check the quest database for the relevant entry. Keeping character, quest, and location questions separate makes it easier to see which page answers the question you have.
Sources checked
The references below confirm the details used in this guide.
- Checked
References
Related guides
Moonlight Peaks Museum Guide and Checklist
Unlock the Museum, handle the five invitations, plan room-based donations, use the interactive collection checklist, and review every listed progress reward.
Read guide
Moonlight Peaks Vampsters Locations and Tracker
Use a persistent checklist for 36 mapped Vampster locations, compare it with the game-wide total of 100, and see why the other 64 locations are not mapped yet.
Read guide